Radeon VII and Ubuntu 18.10 / 19.04
Friday, 15th February 2019
I've been very impressed by the performance and stability of my Ryzen 1800X CPU and AMD's overall approach and commitment in supporting OpenSource development with their drivers and other software.
So when they announced the Radeon VII at CES this year with performance figures comparable to my current nvidia 1080Ti's I was keen to get my hands on one.
When they went on sale on February 7th a colleague snatched my hand off to buy my 2 x 1080Ti for a little over £700 and I got my order in for the AMD card the same day.
Within 24 hours of hitting the buy now button I had the Radeon VII in my hands and I obviously proceeded very carefully to check driver and kernel versions and compatibility.... NOT!! I ripped out the nvidia cards shoved in the Radeon VII as quick as I could and rebooted to be presented with... 1024x768 on a single screen - not great when you have 3 x 2560x1440 displays!
Getting it working
What you DO NOT want to do, is to try installing the Ubuntu 18.04 driver from AMD into a 18.10 system to see if it "might work". It won't and you'll end up with broken apt dependencies!
But if you have done the same as me :-), these steps might also help you solve the missing bits for your installation.
These are the steps I probably should have taken before installing the card in order to achieve a fully working system when booting up after swapping the cards.
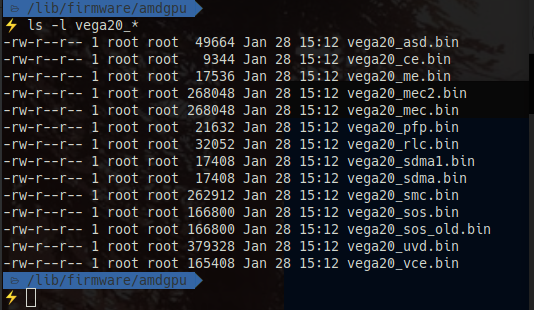
Step 1 - Firmware
Head over to https://people.freedesktop.org/~agd5f/radeon_ucode/vg20/ and download all the vega20_* files and save them into /lib/firmware/amdgpu. You should end up with something like:-
Step 2 - Upgrade Kernel to 4.20
Head on over to https://kernel.ubuntu.com/~kernel-ppa/mainline/ and pick a 4.20 kernel (At the time of writing, I had chosen 4.20.7). Unless you have some very specific requirements, you are going to want the generic kernel files:-

Save them together (and on their own) in a directory somewhere and install with sudo dpkg -i *.deb.
Step 3 - Install X.org driver
If you don't already have it, you'll need xserver-xorg-video-amdgpu installed (`sudo apt install xserver-xorg-video-amdgpu).
Step 4 - Configure your boot-loader
I'm afraid you are on your own here!
I use rEFInd which automatically scans my system for bootable operating systems - for Linux, it also detects which kernels I have available - so there was nothing for me to configure.
Step 5 - Shutdown and install your card
This should leave your system with all the correct bits in place for the card to work properly on the first boot after installing it.
Troubleshooting / Disclaimer
Although these steps should work, and I am 99% sure these are the ones that resulted in me getting back to a fully working system - it's not the path I took.
I ended up with a corrupt apt (unresolvable dependencies) by attempting to install the 18.04 drivers from AMD's website onto an 18.10 system and having to manually unpick a bunch packages - then upgrading to 19.04 and having to SSH in from my laptop because GFX hung after my EFI boot loader - not what I would recommend you do!
I did a lot of googling and finally got some of the missing answers from helpful people on IRC.