Wildcard SSL certs from Let's Encrypt using acme.sh and Route53
Sunday, 03 June 2018 @ 20:18
Getting started with Let's Encrypt certificates is pretty straight forward with the tools available now, especially if you are just needing a certificate on a single server. Certbot's website has a great guide covering all major web-servers and linux distros which can get you up and running in minutes.
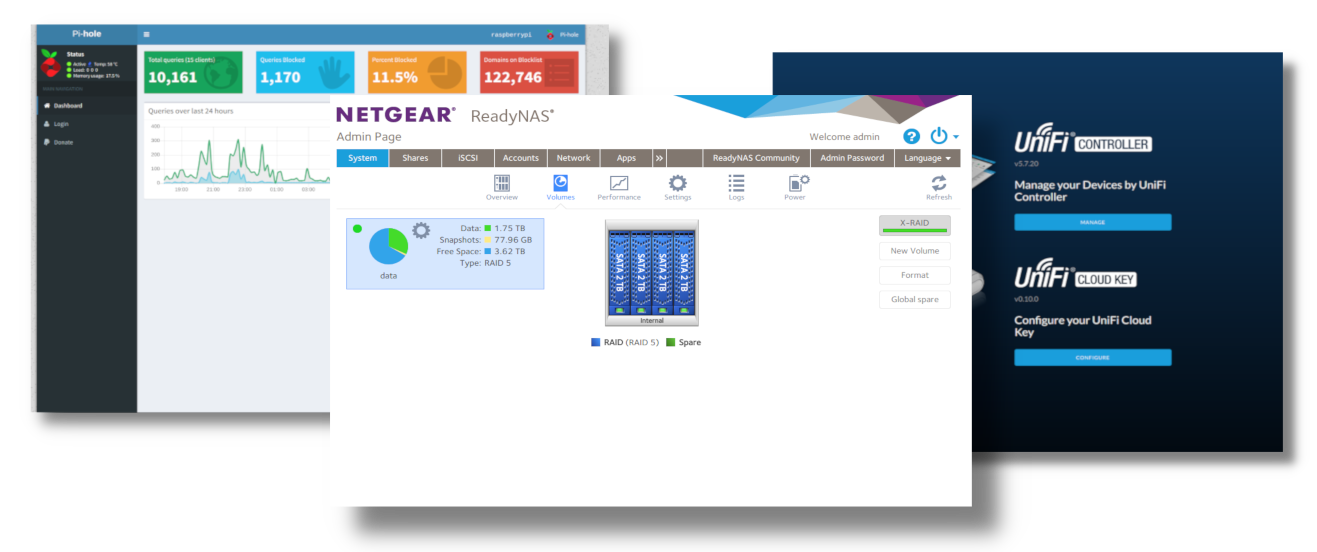
However, things can be a bit trickier when you want to get certificates for use "offline" in systems which are not directly accessible from the public internet. Such as the web interfaces on devices on your LAN like NAS boxes, Routers, and other geeky things. In my case, I have a ReadyNAS box, a Pi Hole DNS server and an Ubiquity Cloud Key - all with web interfaces that I would like to run over HTTPS.
More importantly for me - as a web developer - I strongly encourage dev environments to be as close to what will eventually be the production environment as possible (within sensible limits). So its becoming increasingly important to be able to have HTTPS enabled for local virtual machines.
I'll be diving into the details of some of that setup in future posts. To get the ball rolling, I'm just going to focus on getting the certificates issued and saved onto my local file-system.
Introducing acme.sh
acme.sh is one of many clients that now exist for getting certificates from Let's Encrypt. I came across it a few months ago and was impressed by the amount of services it could automatically interface with for using DNS based challenges. For me, having Route53 support was what I was looking for.
So lets jump in and get it installed.
This should be straight forward on most Linux-like operating systems. Just head over to the acme.sh GitHub pages and follow the instructions most suitable for your setup. For me this was:-
wget -O - https://get.acme.sh | sh
A small side-note on security is needed here...
I am seeing this "download a file with wget or curl and pipe it direct into a shell" becoming an increasing trend. More worryingly I am seeing a lot of instructions for this style of "1 liner" installs, telling the user to pipe the download to a shell running with sudo permissions!!
This is really not something I would recommend. You should not be blindly copy and pasting from the web in the first place, and secondly you should know exactly what a program is going to do before you run it - elspecially if you are running it as root.
I'm willing to forgive acme.sh since it doesn't require root access via sudo. However, I would still recommend any time you see an installation like this, that you actually download the file first, check it, then run it.
Anyway, getting back on track.
The installer script identified my shell as zsh and installed itself into my home directory and setup a command in my ~/.zshrc file to configure itself. So all I had to do was restart my terminal and it was ready to go. You can test my running acme.sh without any arguments and it will print its help page.
It also adds a cron entry so that any certificates you register will be automatically renewed.
Configure AWS Route53 access
In order for acme.sh to automatically set TXT records against the domain name, it needs permissions to use the Route53 API. The best way to do this is to create an new user using IAM and only give it the minimum access it needs. I'm not going to go through the details of how to do this - this is a good place to start though.
Using the AWS console, create a new user (I've called mine "LetsEncrypt") and create a new policy with the permissions listed below, and assign the new policy to the new user. Then generate an access key and secret for the user and keep them safe for later.
{
    "Version": "2012-10-17",
    "Statement": [
        {
            "Effect": "Allow",
            "Action": [
                "route53:GetHostedZone",
                "route53:ListHostedZones",
                "route53:ListHostedZonesByName",
                "route53:GetHostedZoneCount",
                "route53:ChangeResourceRecordSets",
                "route53:ListResourceRecordSets"
            ],
            "Resource": "*"
        }
    ]
}
Get the certificate
OK. That's all the complicated stiff out the way, lets issue a new certificate.
For the first time we run acme.sh, we need to make sure the correct environment variables are set in order for it to pick-up the correct AWS credentials. These credentials will then be saved in ~/.acme.sh/account.conf for future requests and renewals.
Run the following two export commands to setup the environment vars:-
export  AWS_ACCESS_KEY_ID=XXXXXXXXXX
export  AWS_SECRET_ACCESS_KEY=XXXXXXXXXXXXXXX
Obviously, substituting the correct values for the user you created earlier.
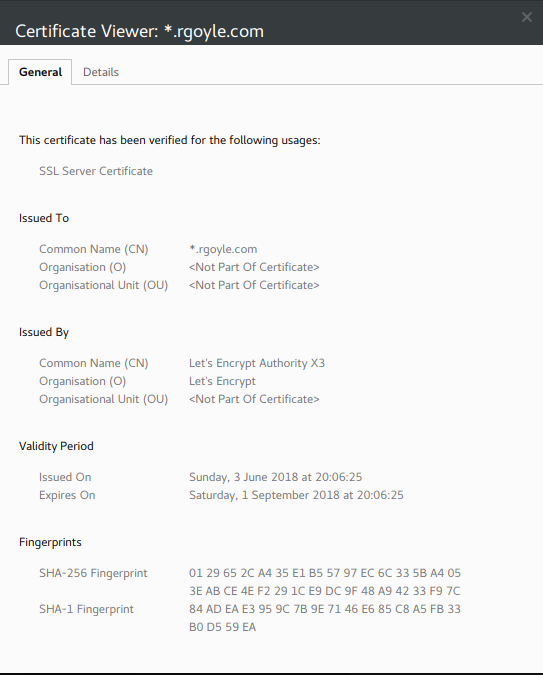
Now we can register the domain. In the example below I am generating a wildcard cert for this blog. (Note, you have to escape the asterisk or put the domain in quotes like I have to stop bash trying to process it:-
acme.sh --issue --dns dns_aws -d "*.rgoyle.com"
Now the script will go off and do it's thing. Assuming everything works as expected, you should see output which finishes off with something like the following confirming where your certificate and keys have been installed.
[Sun  3 Jun 21:06:26 BST 2018] Your cert is in  /home/paul/.acme.sh/*.rgoyle.com/*.rgoyle.com.cer
[Sun  3 Jun 21:06:26 BST 2018] Your cert key is in  /home/paul/.acme.sh/*.rgoyle.com/*.rgoyle.com.key
[Sun  3 Jun 21:06:26 BST 2018] The intermediate CA cert is in  /home/paul/.acme.sh/*.rgoyle.com/ca.cer
[Sun  3 Jun 21:06:26 BST 2018] And the full chain certs is there:  /home/paul/.acme.sh/*.rgoyle.com/fullchain.cer
And we are done!
I now have the certificate on my local machine and I can deploy it to the production servers for both the main blog (ga.rgoyle.com); and the S3 proxy for images, etc (files.rgoyle.com) as well as using it locally on my development VM (dev.rgoyle.com).